Last Updated on August 7, 2025 by Gill
Remember the excitement of building your first PC? That mix of anticipation and nervous energy as you carefully connected each component? Today, we’re revisiting that feeling with a crucial maintenance skill every computer enthusiast should master. Whether you’re upgrading for smoother gaming, troubleshooting performance issues, or simply giving your rig some TLC, understanding your graphics card removal process empowers you to take control of your machine’s capabilities.
Many people hesitate to touch their computer’s internals, fearing delicate parts might shatter like glass. Here’s the truth: your GPU is actually one of the most resilient components in your system. Unlike fragile processors requiring surgical precision, these powerful cards are built to withstand careful handling – provided you follow proper techniques.
We’ll walk through each step together, from powering down safely to navigating the PCIe slot’s release mechanism. You’ll discover that with patience and our straightforward guidance, this process becomes as routine as swapping out a controller during game night. By the end, you’ll feel confident handling your graphics hardware like a seasoned builder, ready to tackle upgrades or maintenance without second-guessing every move. After the installation, we’ll also cover how to set default gpu settings to ensure optimal performance and compatibility with your system. This final touch will help you avoid common pitfalls and make the most of your newly upgraded hardware. Soon, you’ll not only be comfortable with the installation process but also with configuring your setup for the best gaming experience.
This guide prioritizes both your safety and your equipment’s protection. We emphasize taking your time, using the right tools, and understanding each action before proceeding. After all, good things come to those who wait – especially when working with expensive computer components!
Preparing for GPU Removal
Proper setup prevents headaches when working with delicate electronics. Three critical steps ensure your components stay protected: managing static risks, having the right tools, and creating an organized workspace.
Power Management Comes First
Flip your power supply switch to “off” and unplug all cables from outlets. Remove USB devices and monitors to clear your working area. This eliminates accidental shocks and gives you room to maneuver.
Static Defense Tactics
Touch unpainted metal on your case before handling parts. For extra safety, wear an anti-static wristband connected to the chassis. Avoid carpeted surfaces – they generate static that could fry sensitive circuits.
Tool Organization Matters
Gather these essentials:
| Tool | Purpose | Alternative |
|---|---|---|
| Phillips #2 screwdriver | Case/GPU screws | Magnetic bit holder |
| Anti-static mat | Component placement | Clean wooden table |
| Flashlight | Visibility in dark case areas | Phone light |
Keep small screws in labeled containers. Position your computer sideways if possible – this improves access to the side panel and internal slots. Proper preparation takes minutes but saves hours troubleshooting!
How to Remove GPU from Motherboard Safely: Step-by-Step Process
Every upgrade begins with careful disassembly – let’s break it down. This phase requires precision but rewards you with complete control over your hardware configuration.

Freeing Connections Methodically
Start by unplugging every cable from your graphics card’s rear ports. HDMI and DisplayPort connectors need firm but careful pressure – push the release tab before pulling. Never yank cords sideways, as this could bend the slot components.
Next, address the power supply links. Squeeze the plastic tabs on each connector until they click free. If resistance occurs, check for hidden secondary clips – some designs require dual pressure points.
Securing Hardware Access
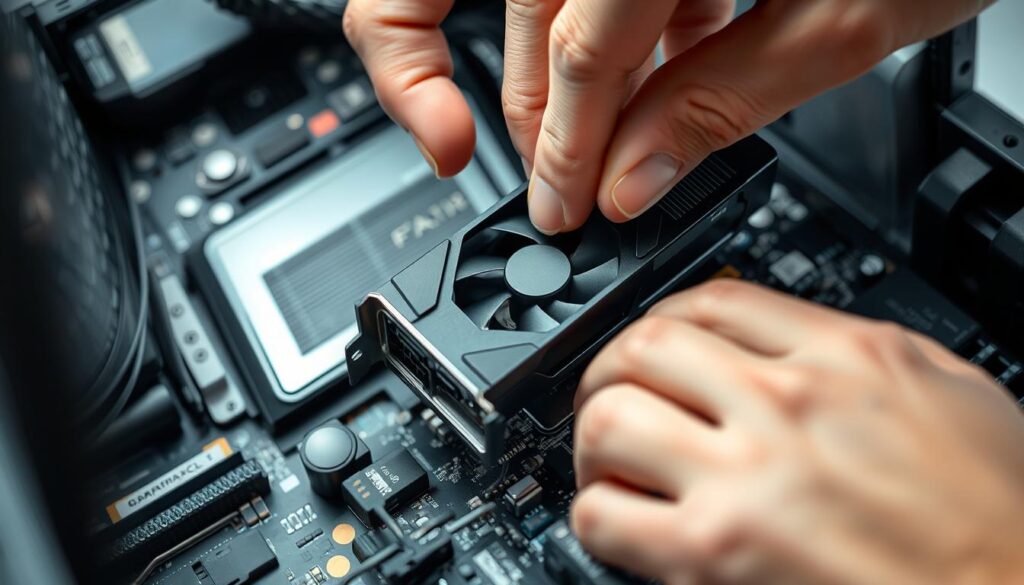
Locate the screws anchoring your component to the case’s rear bracket. Keep a magnetic tray nearby to prevent losing fasteners. Support the card’s weight with your free hand as you remove the final screw – sudden drops strain the motherboard.
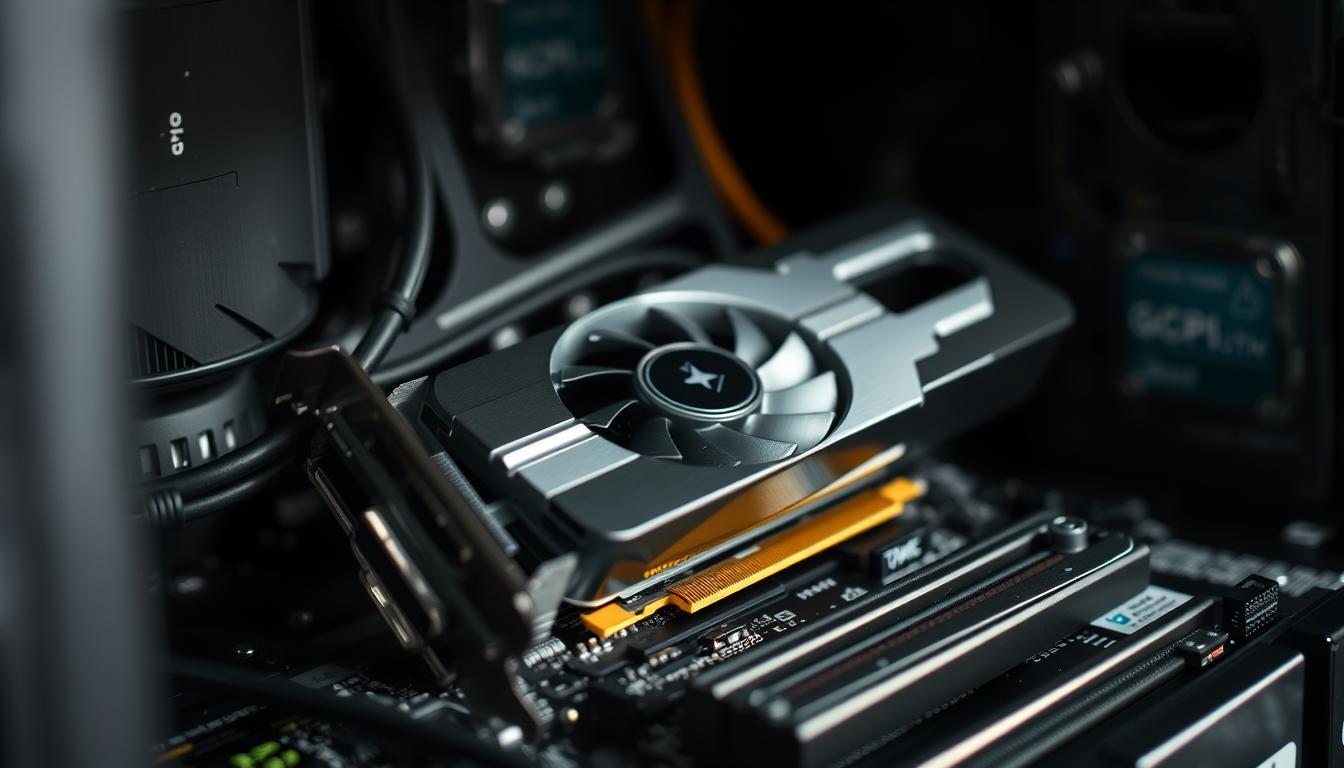
The PCIe release latch sits at the slot’s motherboard end. Press straight down until hearing a distinct snap. If the mechanism feels stuck, double-check for remaining cables or bracket screws before applying gentle force.
With all connections cleared, grip the graphics card by its edges. Pull straight upward using even pressure – rocking motions risk bending the PCIe slot pins. If resistance persists, reassess each step rather than increasing force.
Understanding Your GPU and Motherboard Components
Your computer’s heart beats through its components, each playing a vital role in performance. Let’s explore what makes modern graphics cards tick and how they interact with your system.

Connections That Power Performance
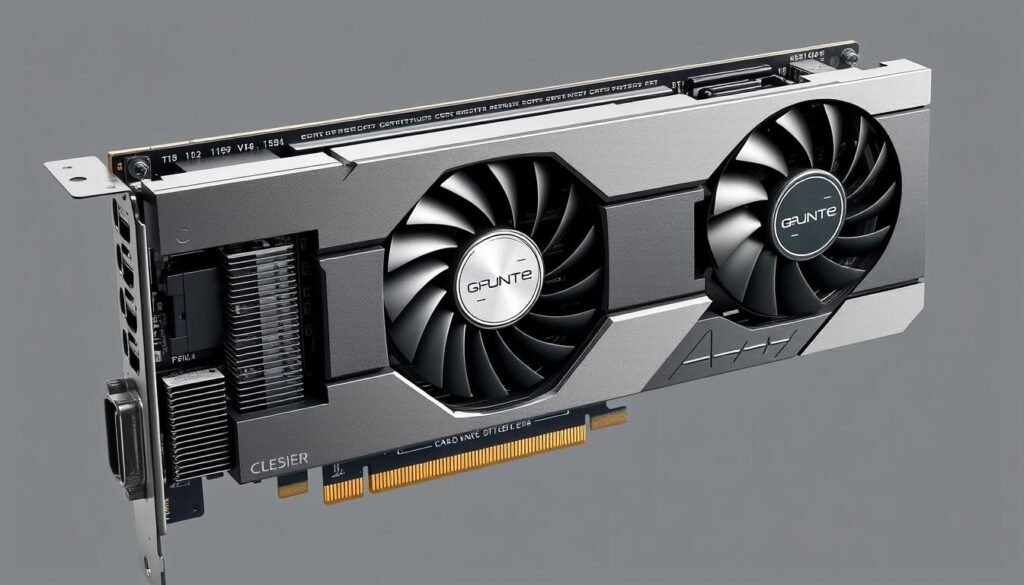
The PCIe slot acts as both data highway and power source for your graphics card. Modern versions like PCIe 4.0 transfer data 64 times faster than USB 3.0! Cards come in various sizes – from slim single-slot designs to three-slot behemoths needing extra case support.
Plastic retention clips secure the card in its slot while allowing easy removal. These durable parts withstand years of use when handled properly. Always grip the graphics card by its edges to avoid pressing on delicate circuits or cooling fans.
Smart Handling Practices
While hardware like GPUs sturdier than CPUs, their gold-plated connectors remain sensitive. Twisting motions during removal can bend PCIe slot pins. If resistance occurs, check for missed screws or stuck retention clips rather than applying force.
Larger cards often use metal support brackets to prevent sagging. These reinforce the motherboard connection without adding stress. When working with different size components, always verify your case has adequate clearance before installation.
Remember: patience preserves components. Gentle pressure and proper alignment protect both your graphics card and motherboard during upgrades or maintenance.
Conclusion
Congratulations – you’ve now got the knowledge to handle graphics card maintenance like a pro! While these components might look intimidating at first glance, their sturdy construction makes them surprisingly resilient when handled correctly. Remember: your computer case holds parts designed for regular upgrades and swaps.
Always prioritize safety by disconnecting power completely before working inside your machine. Rushing through steps remains the quickest way to encounter issues – slow, deliberate motions protect both your hardware and peace of mind. Those gold connectors on your card? They’re tougher than they look, but still deserve careful handling.
When storing components, use the original plastic protector or an anti-static bag. Find a dry place away from curious pets or accidental bumps. Many builders keep the back slot cover as a handy reminder of their system’s configuration.
Thousands upgrade their rigs daily using these exact methods. With practice, you’ll swap graphics hardware faster than changing game settings. This one skill unlocks endless customization possibilities, letting you optimize performance exactly when needed. Happy building!
FAQ
Can static electricity damage components during removal?
What tools are required to remove a graphics card?
Should the power supply stay plugged in while working?
How do I release the PCIe latch without breaking it?
Can I reuse the same PCIe slot for a new GPU?
What if the GPU feels stuck in the slot?
Are AMD and NVIDIA cards removed the same way?
How do I confirm the GPU is seated correctly after reinstallation?
- NVIDIA RTX 6000 Ada Generation 48 GB Bottleneck Calculation - October 17, 2025
- Optimize Your GeForce RTX 5070 Performance with Our Bottleneck Tool - October 2, 2025
- GeForce RTX 5090 Bottleneck Calculator: Optimize Your Setup - October 1, 2025


