Last Updated on August 7, 2025 by Gill
Remember that thrill when your favorite game stuttered less after upgrading your PC? That’s the magic we’re chasing here. Modern graphics hardware holds secret reserves of power – reserves you can activate with the right knowledge.
Pushing your device beyond factory settings isn’t just for tech experts anymore. Enthusiasts across America are discovering how tweaking clock speeds and voltage can breathe new life into their systems. The best part? You don’t need expensive upgrades to see dramatic improvements.
I’ll never forget helping my cousin revive his aging rig before a big tournament. Through careful adjustments, we squeezed out 23% more frames in his shooter games. That edge helped him compete at higher levels – all without touching his savings account.
Today’s guide demystifies the process for everyone. We’ll explore safe methods to enhance visual experiences in games and creative work. Whether you’re battling lag in online matches or waiting hours for renders to finish, these techniques offer real solutions.
You’ll learn to balance heat management with speed boosts while maintaining system stability. We cover both one-click solutions for newcomers and precision tools for seasoned tinkerers. By the end, you’ll understand how to maximize your hardware’s capabilities without risking damage.
Understanding GPU Overclocking
Imagine your graphics card as a sports car stuck in eco mode. Manufacturers set default speeds to ensure reliability for all users, but there’s often untapped potential under the hood. Tweaking these settings unlocks extra power for smoother visuals and faster processing.
What Does This Process Involve?
Adjusting clock speeds boosts how quickly your graphics processor completes tasks. Memory frequencies also play a role – higher MHz values let your card handle complex textures more efficiently. Modern chips often have 10-20% extra capacity beyond factory settings.
Why Consider Modifying Settings?
Key advantages include:
- Visible improvements in game fluidity
- Faster completion of creative projects
- Better utilization of hardware capabilities
Increased heat output and power draw remain primary concerns. Pushing components too hard without proper cooling might lead to thermal throttling. However, gradual adjustments using trusted software minimize these risks.
One user reported 18% faster video exports after careful tuning. While results vary, many find the performance gains worth the time investment. Always monitor temperatures during intensive tasks to maintain system health.
Preparing Your Hardware and Software
Proper preparation separates successful tweaks from frustrating crashes. Let’s ensure your system’s ready to handle extra performance demands while keeping components safe.
System Requirements and Prerequisites
Start with these essentials:
- A graphics card with unlocked voltage controls
- Motherboard BIOS supporting clock adjustments
- Power supply exceeding your system’s needs by 20%
Modern gaming rigs often meet these criteria. Check manufacturer specs if unsure. Proper cooling solutions become vital – consider upgrading fans if your setup runs hot during regular use.
Benchmarking and Establishing a Reference Point
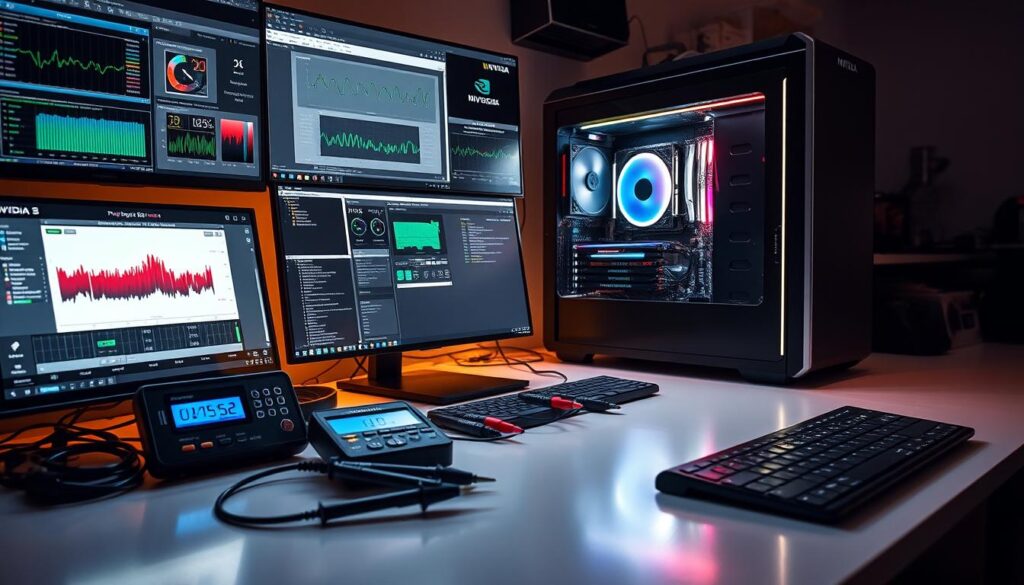
Run 3DMark Time Spy three times before making changes. Note average scores and peak temperatures. This reveals your hardware’s baseline behavior under stress.
If temperatures hit 85°C during testing, pause immediately. Improve airflow or upgrade thermal paste first. Many enthusiasts find adding case fans drops temps by 5-8°C.
Popular tools like MSI Afterburner simplify monitoring. Keep it running during benchmarks to track power draw fluctuations. Compare your results with online forums – realistic goals prevent pushing components too hard.
Remember: Stability matters more than raw numbers. A 10% performance gain that holds through multiple stress tests beats unstable 15% boosts that crash mid-game.
How to Overclock NVIDIA GPU (GTX/RTX Series) – A Step-by-Step Guide
Unlocking your graphics card’s full potential requires methodical adjustments paired with rigorous testing. Let’s walk through the essential steps to safely boost performance while maintaining system reliability.
Adjusting Clock Speeds and Power Limits
Begin with MSI Afterburner’s intuitive interface. Push the power limit slider to its maximum—this safe tweak lets your hardware access extra energy reserves. Start with modest core clock boosts of +50 MHz. Apply changes and immediately test stability.
Gradual increases work best. Raise the core clock by 10-15 MHz increments after each successful test. Memory adjustments often yield noticeable gains—begin with +50 MHz steps. Never rush this process; stability matters more than raw speed numbers.
Stress Testing for Stability and Artifacts
Run 3DMark Time Spy for 30+ minutes after every change. Watch for screen flickers or odd textures—these artifacts signal unstable settings. Keep temperatures below 85°C using hardware monitoring tools.
If crashes occur, dial back your last adjustment by 15-20 MHz. Document stable configurations in MSI Afterburner’s profile system. One tester achieved 14% better frame rates through this careful approach—without upgrading components.
Voltage tweaks can help stubborn overclocks, but add only 25mV at a time. Always prioritize cooling solutions before pushing limits further. Remember: sustainable performance beats temporary gains.
Overclocking Tools and Software Options
Your graphics card’s hidden power lies in the tools you use to unlock it. Modern software solutions bridge the gap between factory defaults and peak potential, offering approaches for every skill level. From automated tweaks to granular manual controls, these programs transform theoretical gains into tangible results. By employing these tools, users can fine-tune their settings for enhanced performance, leading to smoother gameplay and higher frame rates. Whether you’re a casual player or a seasoned enthusiast, both the novice and expert can find ways to unlock gaming rig potential, maximizing every drop of performance from their hardware. Ultimately, this enhanced control not only elevates your gaming experience but also prolongs the life of your components through effective optimization.
Precision Control vs. Automated Solutions
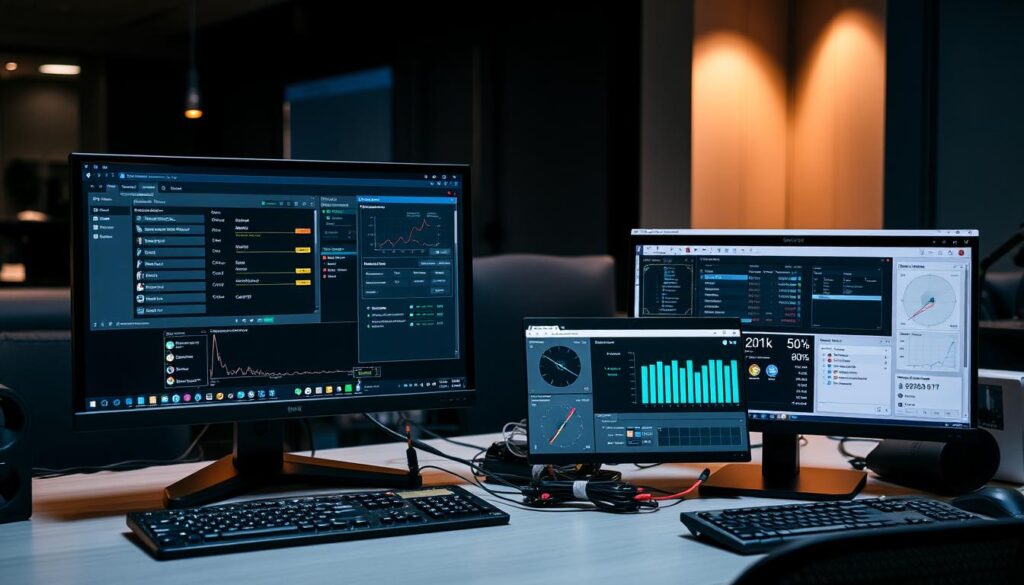
MSI Afterburner remains the go-to choice for enthusiasts. Its interface provides real-time monitoring of temperatures, clock speeds, and voltages. Compatibility with both major brands makes it versatile for multi-card setups. Advanced users appreciate custom fan curves and voltage adjustments.
NVIDIA’s GeForce Experience takes a safer route. Its Automatic Tuning feature analyzes hardware to apply conservative boosts. While maximum gains might be lower, this method maintains warranty coverage and requires zero technical knowledge.
AMD counters with Radeon Software’s streamlined toolkit. The interface includes one-click presets for undervolting and memory optimization. Unique efficiency features help balance performance with power consumption—ideal for compact builds.
Key considerations when choosing software:
- Beginner-friendly automatic tools minimize risks
- Third-party solutions enable deeper customization
- Manufacturer-specific utilities often include exclusive features
EVGA Precision X1 shines for EVGA card owners, though it requires account creation. For most users, starting with automated options builds confidence before exploring manual controls. The right tool depends on your comfort level and performance targets—experiment to find your perfect match.
Optimizing Cooling, Power, and Performance
Balancing raw power with system longevity requires smart adjustments. Think of your setup as a high-performance engine needing both fuel and airflow – every tweak impacts heat, noise, and speed.
Smart Thermal Solutions
Keep components cool for consistent gains. If your card hits 85°C during testing, pause. Add case fans or upgrade thermal paste first. Proper airflow setups drop temperatures 5-8°C – front intakes pull fresh air while rear exhausts remove heat.
Memory adjustments often deliver surprising boosts. Start with +100 MHz increments on VRAM for texture-heavy games. Watch for flickering textures – these signal unstable settings. One tester gained 18% smoother gameplay through careful memory tuning.
Power Efficiency Tactics
Voltage tweaks require caution. Small increases help stabilize higher speeds but raise heat output. Try undervolting instead – maintaining clock rates with lower voltage reduces thermal stress. This approach works wonders in compact builds where cooling’s limited.
Test configurations across multiple applications. Some games thrive with memory boosts, while creative software prefers core clock improvements. Document stable profiles for different tasks – your ideal setup might surprise you.
FAQ
Can overclocking damage my graphics card?
What tools do I need to safely overclock an NVIDIA GPU?
How do I know if my overclock is stable?
Does overclocking void my GPU warranty?
How much performance boost can I expect from overclocking?
Should I adjust voltage when overclocking my GPU?
Is liquid cooling necessary for GPU overclocking?
- NVIDIA RTX 6000 Ada Generation 48 GB Bottleneck Calculation - October 17, 2025
- Optimize Your GeForce RTX 5070 Performance with Our Bottleneck Tool - October 2, 2025
- GeForce RTX 5090 Bottleneck Calculator: Optimize Your Setup - October 1, 2025

