Last Updated on August 7, 2025 by Gill
Remember that mix of excitement and nervousness when snapping together your first LEGO set? That’s exactly how I felt staring at my computer case years ago, wondering if I could handle upgrading my graphics card. Turns out, swapping components isn’t about being tech-savvy – it’s about trusting the process.
Today’s graphics cards transform gaming and creative work like nothing else. But here’s the secret: installing one feels more like assembling flat-pack furniture than rocket science. You just need clear steps, basic tools, and the willingness to learn.
We’ll walk through everything from static safety (yes, those wrist straps matter!) to matching your power supply. No confusing jargon, no skipped steps – just practical guidance that respects your time. By the end, you’ll not only boost your PC’s performance but also gain confidence for future upgrades.
Thousands complete this upgrade daily. With our roadmap, you’ll join them in under an hour. Ready to turn that unopened GPU box into a triumph?
Introduction to GPU Installation for Beginners
That shaky first attempt at baking cookies from scratch? That’s the same mix of determination and doubt many feel when upgrading their PC. Modern graphics cards unlock stunning visuals and smoother performance, but the real magic happens when you make that upgrade your own.
The Importance of Upgrading Your Graphics
Today’s software pushes older hardware to its limits. A modern GPU doesn’t just boost gaming – it transforms video editing speeds and stream quality. Creative apps like Blender or Premiere Pro become snappier, while games reveal details you’ve been missing.
Stuttering frame rates and choppy 4K playback often signal it’s time for a change. Even casual users notice faster multitasking when their system isn’t struggling with outdated graphics processing.
Overview of the Installation Process
Swapping graphics cards follows a logical flow. You’ll power down safely, remove the old component, then seat the new one firmly. Proper alignment and power connections ensure success.
Most installations take under an hour. Basic screwdrivers and an anti-static wristband are your main tools. Driver updates finalize the process, letting your system recognize its upgraded muscle.
While handling expensive tech feels intimidating, methodical steps prevent mishaps. Every builder started with that first upgrade – yours begins here.
Understanding Your GPU and Supporting Components
That first solo road trip where every mile taught you something new? PC upgrades work similarly – your graphics card needs the right travel companions. Let’s explore what makes your GPU tick and how other parts keep it running smoothly. Just like a car engine requires proper maintenance and care to keep running efficiently, your GPU benefits from compatible components that enhance its capabilities. Ensuring that your RAM and power supply are up to par is essential for optimizing performance, especially when restoring pc performance after updates. The synergy between your GPU and other hardware plays a crucial role in achieving that seamless experience, allowing you to unlock the full potential of your gaming or creative endeavors.
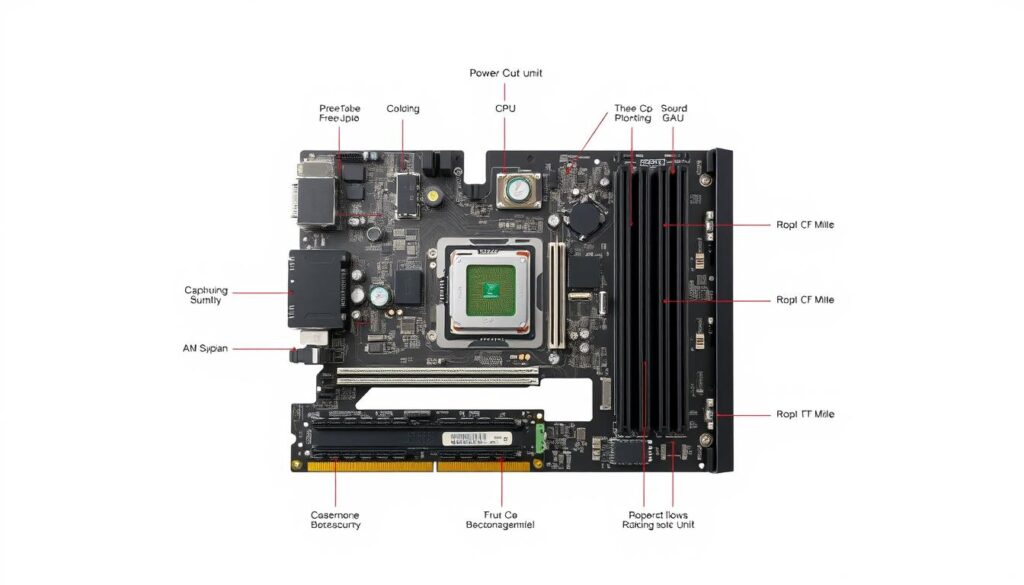
GPU Types and Their Functions
NVIDIA’s GTX and RTX cards dominate the market. GTX models excel at texture details, while RTX cards simulate light like sunlight through stained glass. Ray tracing transforms shadows and reflections from flat images to lifelike scenes.
Creative professionals benefit too. Video renders finish faster when your GPU handles complex lighting calculations. Pairing modern cards with sufficient RAM sticks prevents bottlenecks during heavy workloads.
Role of the Power Supply and Motherboard
Your motherboard’s PCIe x16 slot acts like a highway for data. High-end cards need this full bandwidth to avoid traffic jams. Check physical clearance too – some GPUs extend past CPU cooler zones.
Power demands surprise many builders. A 350W card needs a 650W+ PSU for stable operation. Dedicated connectors (6 or 8-pin) deliver juice without overloading other components. Proper thermal paste application ensures heat transfers efficiently from your GPU to its cooling system.
Balancing these elements creates harmony. Your CPU and GPU collaborate like conductor and orchestra – when both perform optimally, every task feels effortless.
Safety Precautions and Preparing Your Workspace
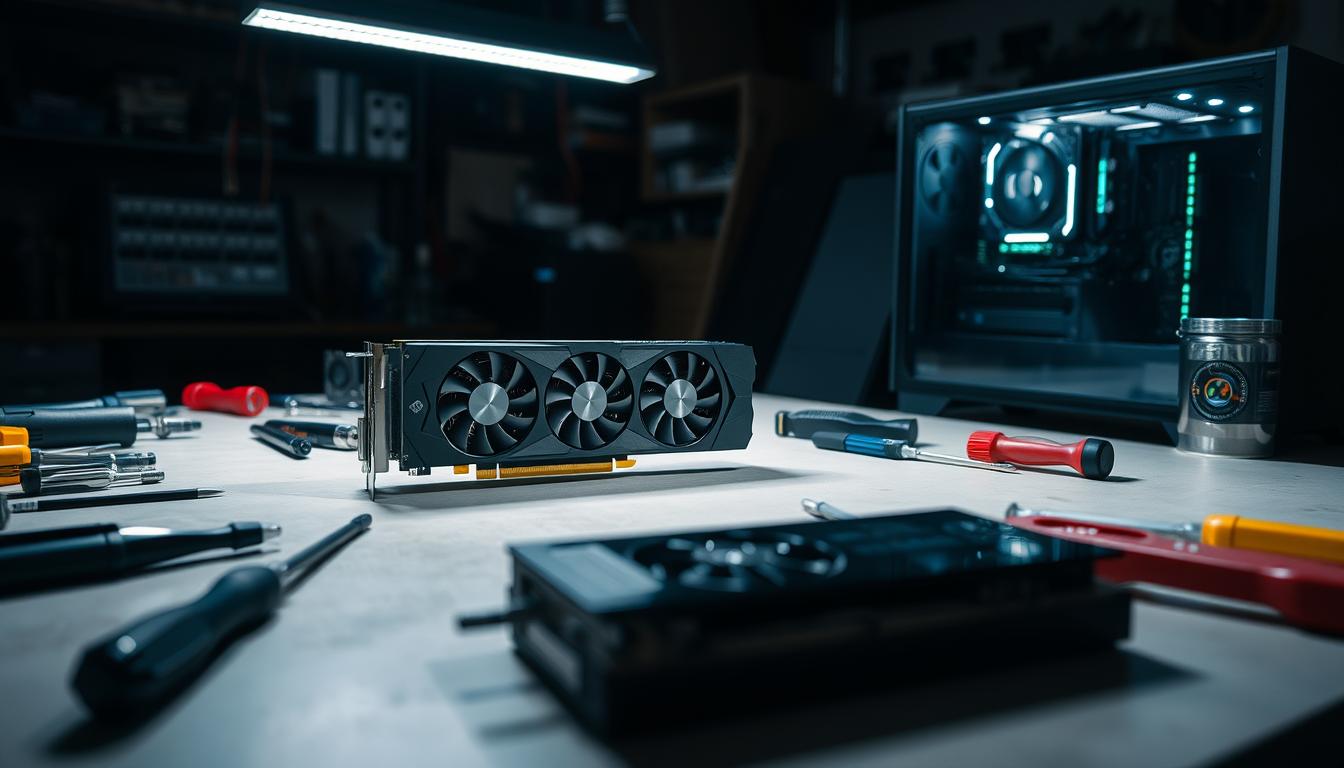
Think of your workspace like a surgeon’s operating theater – every tool has its place, and cleanliness saves lives (or in this case, components). Static electricity lurks everywhere, waiting to zap sensitive parts. A few smart choices now prevent costly mistakes later.
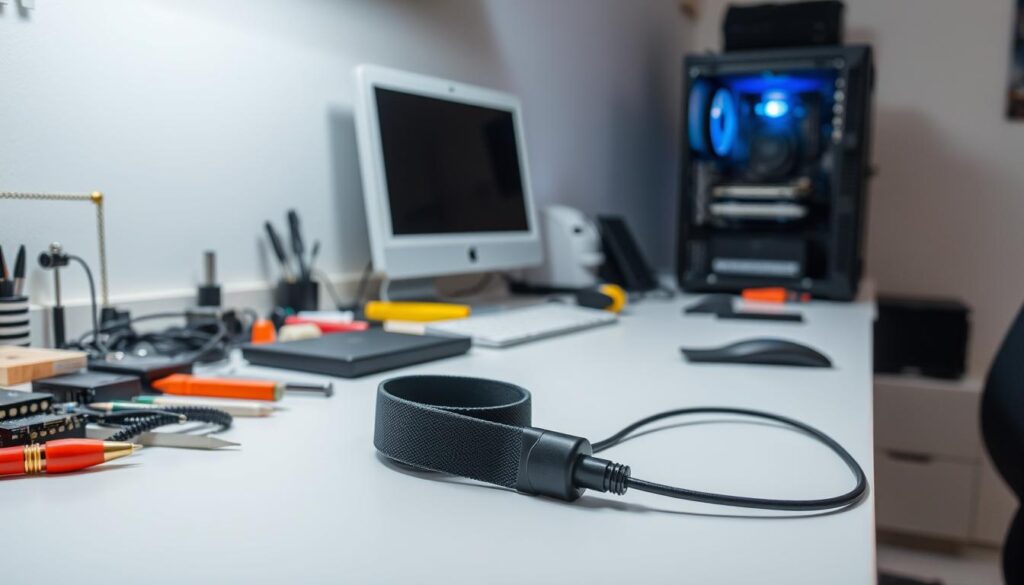
Using an Anti-Static Wrist Strap
Always wear anti-static wrist straps when handling your GPU. These coiled lifesavers channel stray charges away from parts. Clip the strap to your case’s metal frame before touching components.
No strap? Touch your power supply every few minutes. Keep pets and kids away – their movement stirs up static-charged air particles.
Optimal Workspace Setup Tips
Clear a table away from carpets and blankets. Use a magnetic screwdriver – dropped screws love hiding in dark case corners. Position a lamp directly over your work area.
| Workspace Must-Haves | Static Protection | Tool Tips |
|---|---|---|
| Hard, non-porous surface | Anti-static mat | #2 Phillips screwdriver |
| Overhead lighting | Wrist strap or case-touching | Magnetic parts tray |
| Open airflow | Humidity above 40% | Flashlight for shadowy slots |
Store screws in labeled containers. Breathe easy – literally. Dry air holds more static, so run a humidifier if your room feels like a desert.
Essential Tools and Components for the Installation
Ever opened a recipe only to realize you’re missing half the ingredients? PC upgrades work the same way – having the right gear prevents mid-project scrambles. Let’s unpack what tools and components you’ll need for smooth sailing.
Basic Tools Checklist
Your toolkit stays surprisingly simple. A #2 Phillips screwdriver with magnetic tip tops the list – it grabs stubborn case screws like a claw machine. Pair it with these helpers:
- Anti-static wrist strap (your GPU’s bodyguard)
- LED flashlight for shadowy motherboard corners
- Zip ties to tame cable spaghetti
Keep a microfiber cloth nearby for dusting. Small containers prevent screw mix-ups – pill bottles or mint tins work perfectly.
Component Requirements Overview
Your new graphics card needs three things: space, juice, and recognition. Measure your case depth against the GPU’s length before unboxing. High-power models demand dedicated 6/8-pin connectors from your PSU.
- Latest drivers pre-downloaded on a USB drive
- Spare PCIe slot covers (often included with cases)
- PSU upgrade if your unit lacks wattage headroom
Pro tip: Snap photos of your current setup before disassembly. Visual references help avoid “where does this wire go?” panic later.
Pre-Installation Considerations and Compatibility
Ever tried fitting a puzzle piece where it clearly doesn’t belong? That’s GPU compatibility in a nutshell. Before touching your components, verify three critical elements: available PCIe slots, physical space in your case, and power supply muscle.
Checking Slot Compatibility and Case Fit
Your motherboard’s PCIe x16 slot is the gold standard for graphics cards. Make sure it’s not blocked by existing components like Wi-Fi cards or cooling systems. Measure your case depth – some triple-fan GPUs stretch longer than a football.
High-end models often need 2-3 slots vertically. Check clearance between your CPU cooler and case side panel. Tight spaces can choke airflow, leading to thermal throttling during marathon gaming sessions.
Evaluating Your Power Supply Wattage
Modern graphics cards guzzle power like sports cars drink fuel. Calculate your system’s total needs using tools like PCPartPicker. Add 20% buffer to the recommended wattage for future upgrades.
Your power supply unit needs the right connectors – 8-pin cables aren’t optional for beefy GPUs. 750W units handle most mid-range builds comfortably, while 1000W models leave room for SLI configurations or overclocking adventures.
Double-check voltage rails if you’re using multiple drives or RGB lighting. A quality power supply whispers quietly while delivering stable juice – skimp here, and your whole system stutters.
How to Install a New GPU (Beginner’s Guide)
Like strapping into a rollercoaster for the first time, upgrading your graphics card mixes thrills with practical preparation. The process flows smoothly when you follow a clear sequence – no white-knuckle moments required.
Key Steps to a Successful Installation
Start by disconnecting your PC from power and laying it flat. Ground yourself using an anti-static strap or by touching the metal case frame. This prevents static shocks that could damage sensitive parts.
| Preparation Phase | Common Mistakes | Smart Solutions |
|---|---|---|
| Power down & unplug system | Forgetting BIOS updates | Check manufacturer website |
| Clear workspace | Losing screws | Use magnetic tray |
| Gather tools | Rushing connections | Double-check alignment |
Remove side panels carefully, noting screw positions. Locate your current graphics card – it’s the largest component plugged horizontally into the motherboard. Press the PCIe slot’s retention clip to release it.
New cards need proper seating. Align the golden contacts with the slot, applying firm pressure until the retention clip snaps up. Secure the bracket with screws to prevent sagging. Connect power cables until they click – loose connections cause crashes.
Post-installation steps matter most. Download drivers before booting to avoid display issues. Use benchmarking tools like 3DMark to verify performance gains. Adjust fan curves if temperatures spike during stress tests.
With these steps, you’ll transform your rig’s capabilities while gaining hands-on tech skills. Each successful upgrade builds confidence for future modifications.
Step-by-Step Physical Installation Process
Sliding a graphics card into its slot feels like parallel parking a bicycle – precise but perfectly manageable with focus. This hands-on phase rewards patience, transforming abstract knowledge into tangible results.
Removing the Old GPU Safely
Power down completely and unplug every cable. Disconnect existing power connectors from the card, then unscrew its rear bracket. Gently press the PCIe slot’s retention clip – it releases with a satisfying click. Lift the card straight up, avoiding sideways tugs.
Aligning and Inserting the New GPU
Remove case covers matching your card’s output ports. Hold the GPU by its edges, aligning golden contacts with the PCIe x16 slot. Simultaneously match the bracket to the case opening. Apply firm, even pressure until the retention clip snaps closed.
Securing the Card in Place
Screw the bracket tightly to prevent sagging. Make sure power connectors click into place – loose cables cause instability. Double-check clearance between the card and nearby components. Your case should close smoothly without pressure on the GPU.
With these steps complete, your system gains fresh graphical muscle. Proper seating ensures peak performance while preventing physical strain. Bask in that click – it’s the sound of upgrade success.
FAQ
How do I know if my power supply can handle a new GPU?
Will my motherboard’s PCIe slot work with any modern GPU?
Is an anti-static wrist strap really necessary?
What if my GPU isn’t working after installation?
Do I need extra tools besides a screwdriver?
Can a GPU be too big for my case?
How do I prevent GPU sag?
- NVIDIA RTX 6000 Ada Generation 48 GB Bottleneck Calculation - October 17, 2025
- Optimize Your GeForce RTX 5070 Performance with Our Bottleneck Tool - October 2, 2025
- GeForce RTX 5090 Bottleneck Calculator: Optimize Your Setup - October 1, 2025

