Last Updated on August 7, 2025 by Gill
You’ve spent hours assembling your dream rig – crisp RGB lighting, flawless cable management, that monster graphics card you saved months to buy. Then you notice it: a slight tilt in your prized component, like a wilting flower in an otherwise perfect garden. That sinking feeling? We’ve all been there.
Modern gaming powerhouses like NVIDIA’s RTX 3080 tip the scales at over three pounds – heavier than some laptops. While premium models like EVGA’s RTX 2060 Super XC Ultra stay rigid through smart engineering, most cards rely on just two connection points in your case. It’s like hanging a brick from a rubber band.
Before panic sets in, breathe easy. That gentle droop won’t fry your hardware overnight. But let’s face it – you didn’t build this beauty to watch it slouch like a teenager on laundry day. The good news? Solutions range from free household hacks to sleek support brackets, many taking less time to install than downloading your favorite game.
We’ll explore why today’s components test physics, how to spot actual danger signs, and clever ways to keep everything aligned. Whether you’re rocking a compact build or a full-tower showpiece, maintaining that crisp vertical line is easier than you think. Your graphics card deserves better than gravity’s cruel joke – let’s give it the backup it needs.
Understanding GPU Sag
That sleek gaming rig you’re so proud of might be hiding a common secret – a subtle bend in its most expensive part. Modern graphics cards aren’t just powerful; they’re heavy engineering marvels that test your PC’s structural limits.
What is GPU Sag?
Picture a diving board holding a cinderblock. That’s essentially your PCIe slot supporting today’s massive components. The term refers to the downward tilt that occurs when a card’s weight overpowers its two anchor points – the slot itself and the rear case screws. While mid-range models stay put, anything over 3.3 pounds (like many RTX 40-series cards) starts this gradual descent.
Recognizing the Signs and Impact
Spotting the issue is straightforward. Open your case side panel and look for a visible slant at the card’s free end – imagine a ruler tilting off a desk edge. Most builders notice this first in their RGB lighting alignment looking slightly off-kilter.
Here’s the relief: that gentle curve won’t snap your board. Manufacturers design circuits to flex slightly, and angles under 45 degrees rarely cause harm. However, extreme cases might stress solder points over years of use. The real sting? Watching your showpiece build lose its crisp, professional look to gravity’s persistent tug.
Reasons Behind GPU Sag
Modern component engineering has created a paradox: the same features that boost performance also strain your build’s structure. Let’s unpack why even premium rigs battle gravity’s pull.
Weight and Design Considerations
Today’s flagship components are marvels of density. Compare a 2015 GTX 980 (8.5 inches, 1.5 lbs) to current models like ASUS’ ROG Strix RTX 4090 (14 inches, 4.6 lbs). That’s triple the heft hanging from the same two anchor points.
Three factors amplify the issue:
| Factor | Older Models | Modern Models |
|---|---|---|
| Average Length | 9.5″ | 13.7″ |
| Cooling Systems | Single fan | Triple-fan + vapor chambers |
| Support Points | 2 (slot + bracket) | 2 + optional braces |
Extended PCBs act like seesaws. Every inch beyond the slot multiplies torque. MSI’s Suprim X series combats this with reinforced frames, but most rely on basic mounting.
Heft often signals quality – dense heatsinks and thick backplates improve cooling. Yet these upgrades test structural limits. The solution isn’t lighter parts, but smarter support for our power-hungry components.
Straightening Your Rig’s Spine
That stubborn tilt in your prized component doesn’t need fancy tools or engineering degrees to correct. From playful improvisation to precision-engineered aids, multiple approaches exist to restore your build’s sharp lines.

Creative Upcycling for Tech Enthusiasts
Raid your kid’s toy chest first. Stacking Lego bricks creates adjustable columns that blend with RGB themes. For stealthier builds, fishing line tied from the card’s corner to case framing offers invisible uplift. Just avoid overtightening – gentle tension works best.
Got a 3D printer? Custom-designed props match exact case dimensions. Popular designs on Thingiverse include modular pillars with ventilation cutouts. These printed solutions often weigh less than an energy drink can while holding 10+ pounds.
Engineered Solutions for Peace of Mind
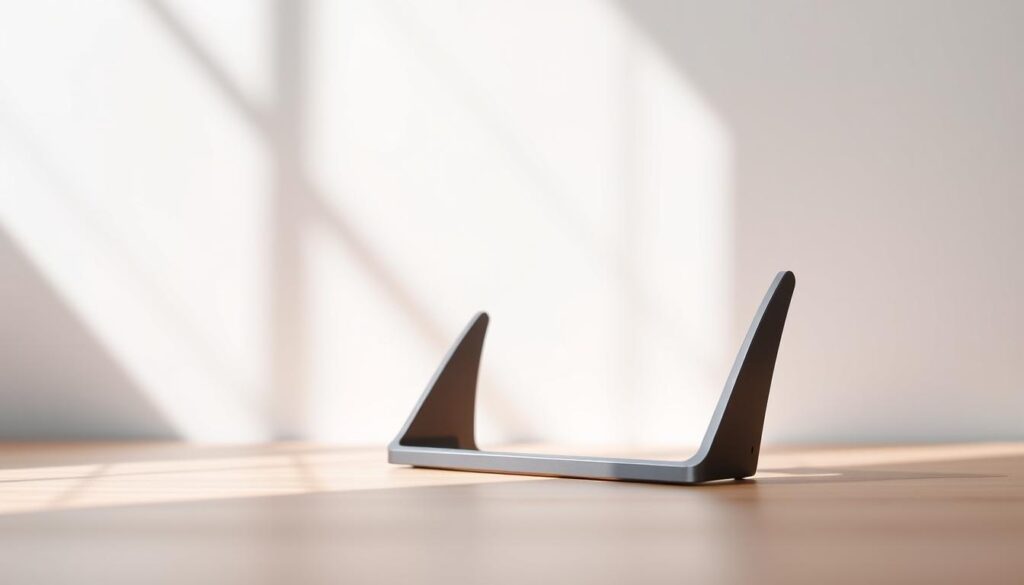
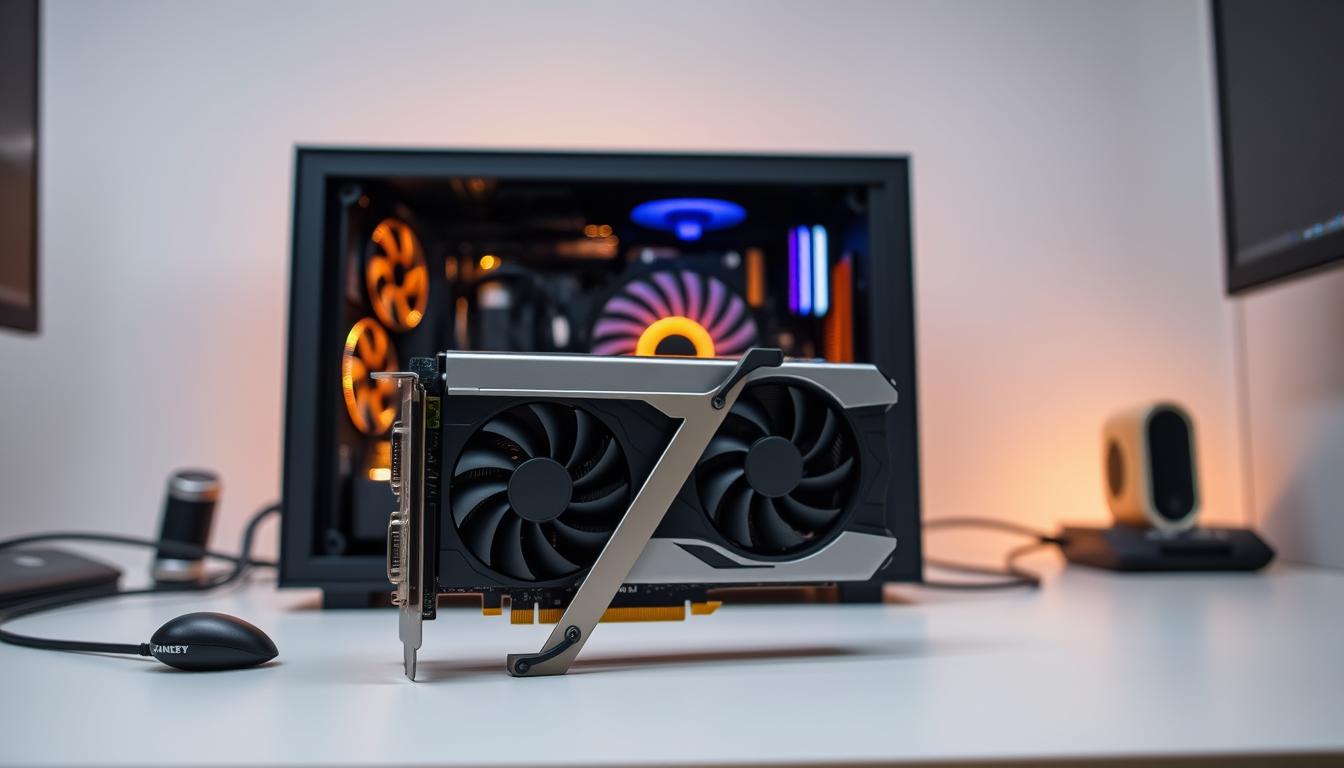
When DIY feels too makeshift, dedicated support systems deliver. Brands like Cooler Master and Lian Li offer aluminum brackets with magnetic bases or screw-mounted designs. Prices range from basic $15 plastic stands to $40 RGB-lit marvels that sync with your lighting setup.
| Solution Type | Cost Range | Install Time |
|---|---|---|
| Toy Blocks | $0 (existing items) | 2 minutes |
| 3D Printed | $5-$20 | 15-30 minutes |
| Pro Brackets | $15-$40 | 5-10 minutes |
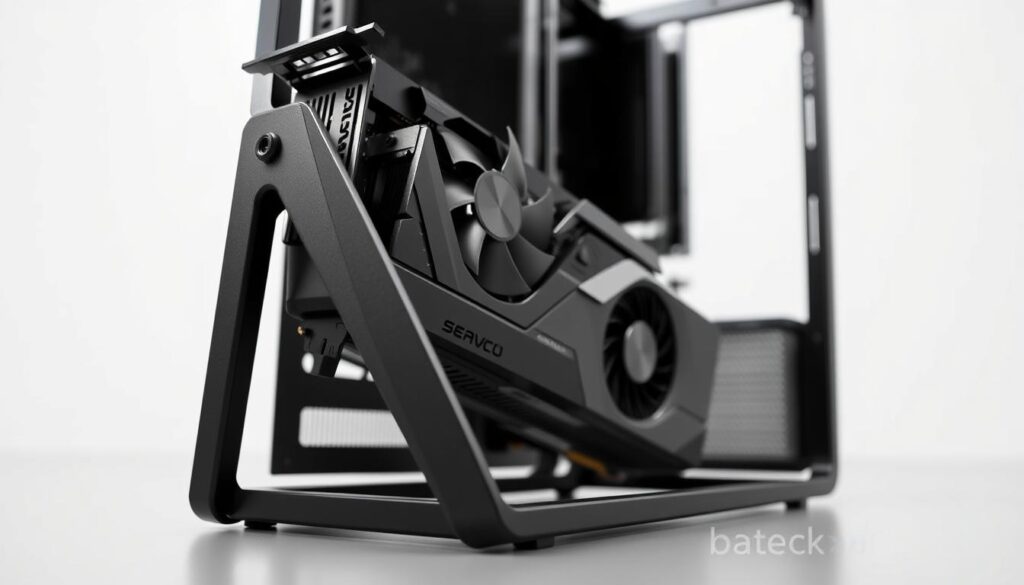
Many modern cases now include vertical mounting kits. These reposition your component entirely, transferring weight to sturdier frame points. Always check PCIe slot alignment if using riser cables with this method.
Alternative Solutions to Prevent Sag
Your graphics card’s posture problems might hide unexpected fixes in plain sight. Sometimes the best solutions come from rethinking connections rather than adding supports.

Cable Management as Temporary Relief
Those thick power connectors can do double duty. Route them from above your component instead of below to create gentle upward tension. This works best with stiff-sleeved cables that maintain their shape.
While clever routing buys time, remember physics always wins. Cables gradually stretch, and heat cycles loosen tension. Consider this a band-aid solution while planning permanent fixes.
| Solution | Effectiveness | Duration |
|---|---|---|
| Overhead Cabling | Moderate lift | 3-6 months |
| Underside Routing | No improvement | N/A |
| Combined Approach | Enhanced support | 6-12 months |
Vertical Orientation Advantages
Flipping your component’s position changes the game. Vertical mounting lets gravity work with your hardware instead of against it. This method requires two key elements:
- A compatible case with vertical slots
- Quality PCIe riser cable (Gen4 recommended)
Popular cases like Lian Li’s O11 Dynamic series include native vertical mounts. For others, aftermarket kits from brands like Cooler Master transform horizontal setups. Always verify clearance for fans and radiators before committing.
The payoff? Your prized component becomes a centerpiece while eliminating tilt completely. Just ensure proper riser cable maintenance – dust accumulation can affect signal quality over time.
Tips for Long-Term GPU Support
Keeping your graphics card level isn’t a set-and-forget task. Like maintaining a high-performance engine, your rig’s structural health needs periodic attention. Smart builders know that prevention beats correction when protecting their investment.
Maintenance and Upkeep Advice
Start with your component’s backbone – the backplate. Rigid aluminum or steel plates add crucial reinforcement, while flexible plastic versions might increase droop. Brands like NZXT and Thermaltake offer aftermarket options that combine style with structural benefits.
Thermal cycling poses a sneaky challenge. Daily heating/cooling expands and contracts materials, potentially loosening screws or shifting supports. Mark your calendar to check bracket positions every 3-6 months. A quick visual alignment test takes seconds but saves years of stress.
| Checkpoint | Tool Needed | Frequency |
|---|---|---|
| Bracket tightness | Phillips screwdriver | Every 6 months |
| Backplate integrity | Visual inspection | Annually |
| PCIe slot alignment | Flashlight | After moving PC |
When securing your component, tighten slot screws until resistance appears – cranking harder risks stripping threads. Modern cases with steel frames naturally resist flex better than acrylic panels. Planning an upgrade? Factor in 0.5mm of support height for every 100g increase in card weight.
Notice gradual tilting returning? Your solution might need adjustment. Pro tip: Snap a phone photo during initial installation for easy visual comparisons later. Quality support systems grow more crucial as components keep expanding – future-proof your build today.
Conclusion
That subtle tilt in your graphics card doesn’t spell disaster. While the visual imbalance might make your inner perfectionist cringe, modern PCIe slots and circuit boards handle this common issue better than you’d expect. Manufacturers bake flexibility into their designs – those slight angles won’t fry your hardware.
From Lego towers to magnetic brackets, solving the problem often costs less than a fancy coffee. Many builders find creative support methods blend seamlessly with their setup’s aesthetics. Vertical mounting remains the ultimate solution, transforming components into showpieces while sidestepping physics entirely.
Remember: today’s GPUs are built like tanks. Unless you’re rocking a triple-slot monster card, minor droop won’t impact performance. Keep an eye on extreme cases, but don’t lose sleep over slight angles. Your rig’s structural integrity matters – but so does enjoying the powerhouse you’ve created.
FAQ
Can GPU sag damage my graphics card over time?
Are aftermarket brackets the best solution for GPU sag?
Do vertical GPU mounts prevent sagging?
Can power cables help reduce GPU sag?
Is GPU sag purely a cosmetic issue?
How often should I check my GPU for sagging?
- NVIDIA RTX 6000 Ada Generation 48 GB Bottleneck Calculation - October 17, 2025
- Optimize Your GeForce RTX 5070 Performance with Our Bottleneck Tool - October 2, 2025
- GeForce RTX 5090 Bottleneck Calculator: Optimize Your Setup - October 1, 2025


