Last Updated on August 7, 2025 by Gill
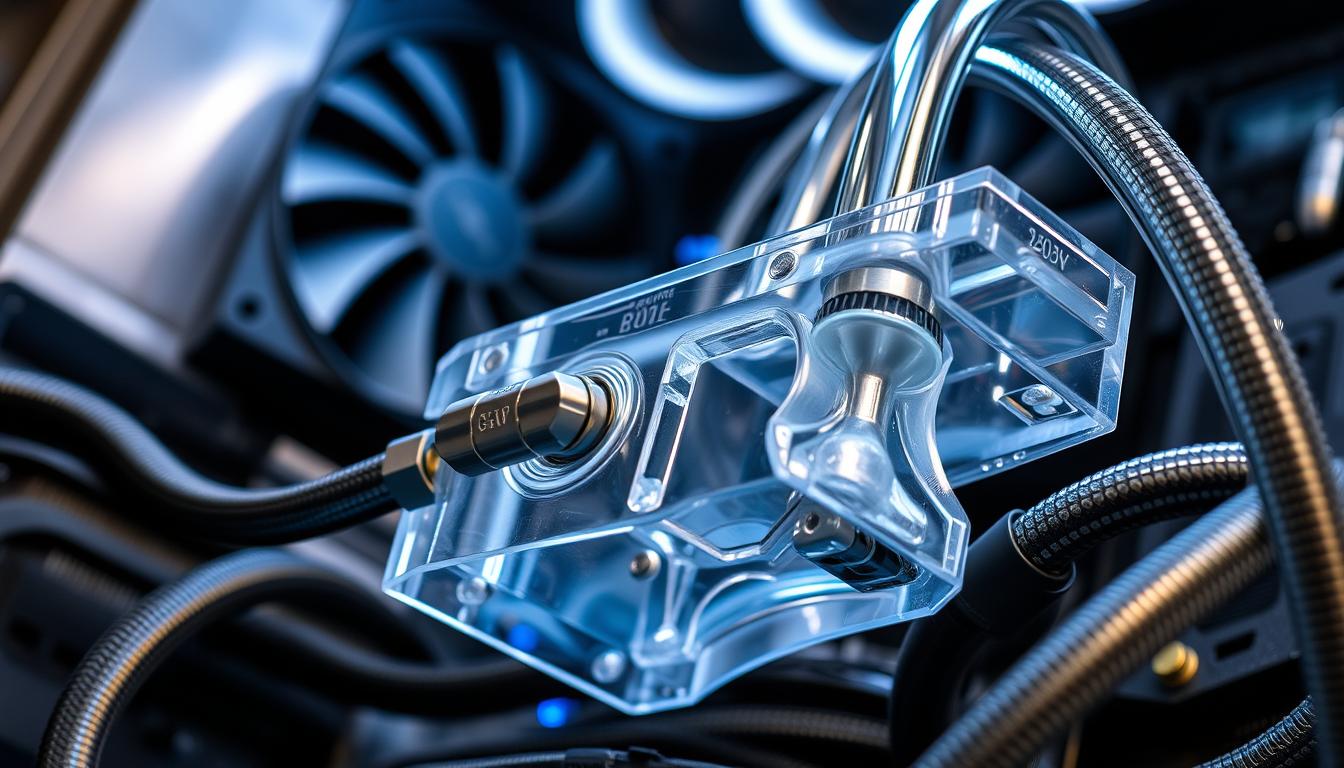
Remember that moment your screen froze mid-battle because your graphics card decided to impersonate a jet engine? I do. My first gaming PC sounded like a leaf blower struggling through summer heatwaves – until I discovered liquid-based thermal solutions.
Modern gaming demands more than raw power – it requires smart heat management. While air-based methods work for basic setups, they often buckle under intense workloads. That’s where fluid-based thermal transfer shines. Its secret? Molecular efficiency that outpaces traditional approaches by 3-4 times.
This isn’t just about lower temperatures. It’s about transforming your machine into a whisper-quiet powerhouse that maintains peak performance during marathon sessions. Whether you’re exploring vast open worlds or rendering complex 3D models, the right thermal solution keeps your hardware singing instead of screaming.
We’ll explore everything from compact closed-loop units to expansive multi-component configurations. You’ll learn how to match components to your specific needs, plan spatial requirements, and avoid common pitfalls. By the end, you’ll be ready to tackle this upgrade with confidence – no prior plumbing experience required.
Understanding GPU Water Cooling Concepts
Ever notice how a spoon left in hot coffee stays warm longer than one in air? That’s the power of fluid-based heat transfer. At the atomic level, molecules in liquids bond tighter than gases, creating a natural advantage for managing thermal energy.
Why Fluid Systems Outperform Traditional Methods
Liquid-based thermal solutions work like a highway for heat. Their secret lies in water’s molecular makeup – oxygen atoms pull electrons from hydrogen neighbors, forming stable bonds that absorb energy efficiently. This lets fluid systems move 3x more heat than standard air setups.
Traditional thermal management relies on metal fins and spinning fans. While effective for basic tasks, these systems hit limits during intense workloads. The restricted space around components leaves little room for proper airflow.
Fluid-based setups solve this by transporting warmth to larger radiators. These expansive surfaces let heat escape faster, like opening multiple windows in a stuffy room. The result? Components stay cooler during 4K gaming marathons or 3D rendering sessions.
Another perk? Quieter operation. Without screaming fans attached directly to hardware, systems hum softly even under load. It’s like swapping a motorcycle engine for an electric motor – same power, less noise.
Essential Components for a Custom Cooling Setup
Building a thermal management system feels like crafting a Swiss watch – every piece must work in perfect harmony. Three core elements form the foundation: heat transfer units, fluid movers, and distribution networks. Let’s break down what makes each part vital.
Heat Transfer Units and Fluid Movers
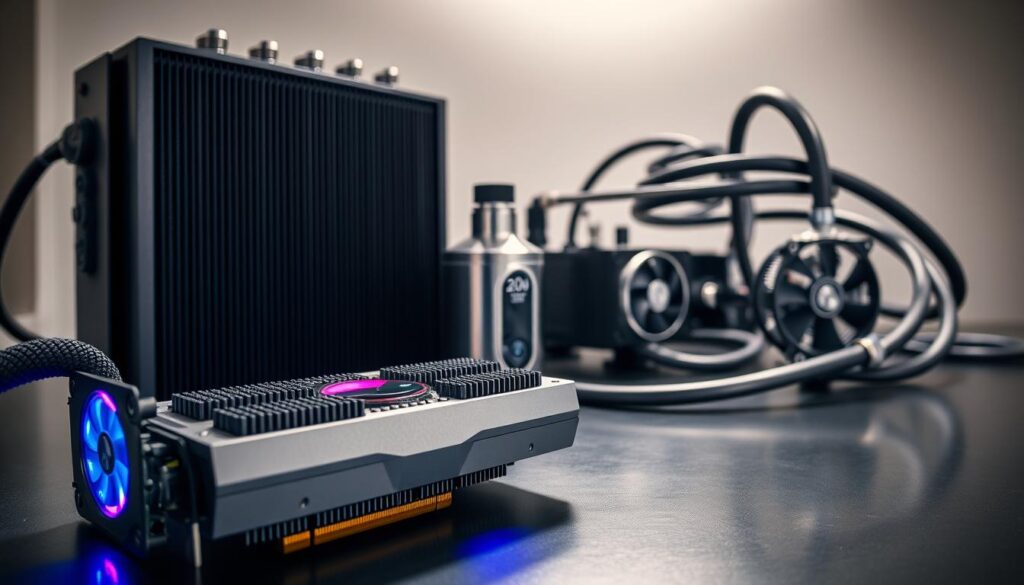
Water blocks act as thermal sponges. These nickel-plated plates clamp onto hot spots, absorbing energy through direct contact. Their micro-fin channels maximize surface area – like turning a driveway into a parking garage for heat particles.
The pump serves as your system’s heart. Two main types dominate:
| Feature | D5 | DDC |
|---|---|---|
| Noise Level | Whisper quiet | Moderate hum |
| Pressure | Low head | High pressure |
| Flow Rate | 3.9 GPM | 2.6 GPM |
| Size | Larger circle | Compact square |
Reservoirs prevent pump suicide. These clear chambers store extra fluid, ensuring constant liquid supply. Think of them as emergency fuel tanks for your thermal engine.
Heat Exchangers and Conduits
Radiators work like car radiators for chips. The golden rule? 120mm per component. But 360mm models let fans spin slower – like pedaling downhill instead of climbing.
Tubing choices split builders into two camps. Silicone lines bend easily for quick setups. Acrylic pipes demand heat guns and patience but create museum-worthy curves. Both need compression fittings – the seatbelts of liquid systems.
Planning Your GPU Water Cooling Installation
Think of your computer case like a puzzle box – every piece needs precise placement to achieve perfect harmony. Before grabbing tools, grab a tape measure. Successful thermal solutions start with smart spatial planning and compatibility checks.
Measuring Space and Compatibility Considerations
Start by mapping your case’s interior. Measure clearance around your graphics card slot, leaving breathing room for nearby RAM sticks and storage drives. Air-based solutions often create spatial conflicts – their bulky designs block access to crucial components.
Radiator placement makes or breaks your build. Use this quick reference guide:
| Case Size | Max Radiator | Component Clearance |
|---|---|---|
| Mid Tower | 360mm Front | 2.5″ Drives: 4 |
| Full Tower | 480mm Top | PCIe Slots: 8 |
| Compact | 240mm Rear | RAM Height: 45mm |
Power requirements matter too. Fluid movers add 20-30 watts to your load – check your PSU’s headroom. Route tubing along existing cable channels to avoid kinks. Photograph your current setup before disassembly – it’s your roadmap for reassembly.
Smart planning reduces leaks and headaches. Measure twice, install once, and watch your system breathe easier.
Preparing Your Workspace and Tools
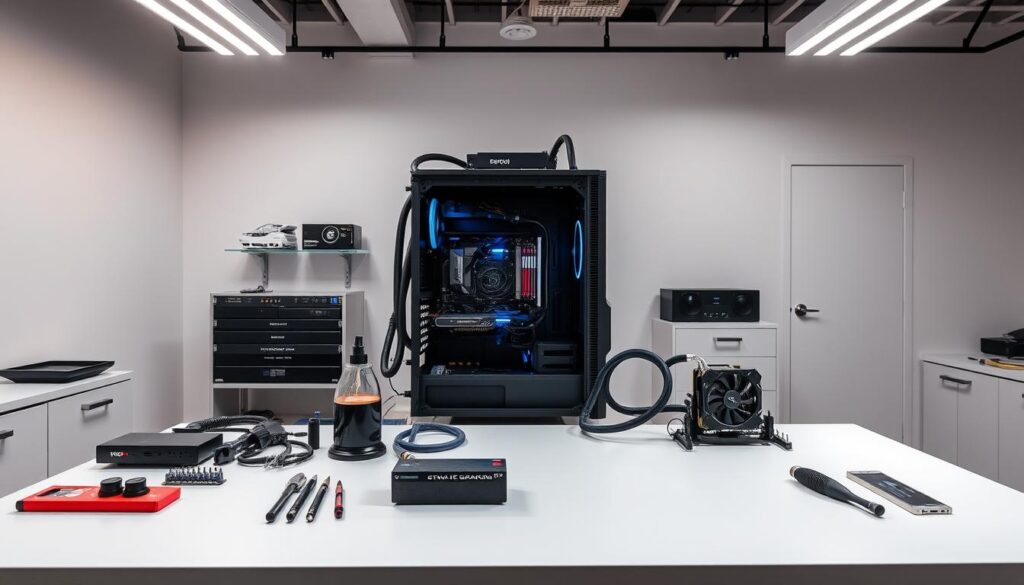
Ever seen a chef’s workspace before they create a masterpiece? Every knife has its place, ingredients stand ready, and towels wait within arm’s reach. Your thermal management build deserves the same precision. Start by clearing a large, flat surface – kitchen tables work great if you lay down an anti-static mat.
Safety Tips and Essential Tools
Static electricity can fry components faster than overheating. Clip that wrist strap to your case’s metal frame before touching any parts. Keep these items within reach:
- Phillips #2 screwdriver (the MVP of PC builds)
- Spring-loaded tube cutter for clean lines
- Thermal paste applicator with 90% isopropyl alcohol
Position your case so both sides open freely. Paper towels under the work area catch spills – trust me, you’ll thank yourself later. First-time builders should block out 5 hours minimum. Rushing leads to leaks or stripped screws.
Snap photos of your original air-based setup before disassembly. These become golden tickets during reassembly. Keep your old thermal solution nearby as a backup – unexpected hiccups happen even to pros.
Remember: pumps belong low in the system, like basement sump pumps. This placement prevents dry starts that could burn out your fluid mover. Double-check fittings against your tubing diameter – mismatched sizes turn your build into a fountain.
Step-by-Step Installation Process Overview
Approach your thermal upgrade like a surgical procedure – precision and preparation prevent complications. Before touching any parts, lay out your tools and components like instruments on an operating tray. This methodical start saves hours of frustration later.
Initial Setup and Component Layout
Begin by disconnecting all power sources – unplug cables rather than just shutting down. Remove your graphics card carefully, supporting both ends to avoid PCB flex. Lay out your new thermal management parts in assembly order: Once your new thermal management components are in place, reinsert the graphics card carefully into the PCIe slot, ensuring a snug fit. After securing the card, you can begin the process of powering your system back on, followed by installing GPU drivers made easy to ensure optimal performance. Finally, monitor your temperatures and performance metrics to confirm that the upgrades are functioning as intended.
- Heat transfer unit (specific to your card model)
- Pump/reservoir combo unit
- Radiator with pre-mounted fans
Loop sequence matters less than proper pump placement. Tests show component order creates less than 1°C difference in steady-state operations. The golden rule? Position your fluid reservoir directly above the pump inlet. This gravity-fed design prevents air pockets from damaging the impeller.
Mount your radiator first, aligning it with case vents. Leave at least 25mm clearance between the heat exchanger and other parts for airflow. Secure the pump near your case’s floor using vibration-dampening pads – this reduces noise and maintains prime during operation.
Test-fit all tubing routes before cutting. Smooth bends beat sharp angles for maintaining flow rates. Mark ideal connection points with painter’s tape, then trim lines 10% longer than needed. Extra length allows adjustments during final assembly.
Installing the GPU Water Cooling System on Your Graphics Card
Handling a graphics card’s thermal interface feels like setting a diamond – one misaligned edge ruins the entire jewel. The water block serves as your hardware’s lifeline, transferring energy from silicon to fluid with atomic precision.
Mastering the Thermal Handshake
Start by stripping your card to its bare essentials. Remove screws holding the stock cooler, noting their positions like a treasure map. Peel away thermal pads gently – these sticky notes of heat management often leave residue.
Clean the exposed chip using 90% isopropyl alcohol. Swirl in circular motions until no gray shadows remain. This creates a mirror finish for optimal contact. Let it air-dry completely – patience prevents paste problems.
Apply thermal compound using the rice grain method. A pea-sized dot spreads naturally under pressure. Too much creates insulating bubbles. Too little leaves dry spots that throttle performance.
Align the block’s mounting holes with your card’s PCB. Lower it slowly, watching for perfect symmetry. Cross-tighten screws in diagonal patterns until snug. Over-torquing cracks delicate components – think firm handshake, not arm wrestle.
Install replacement thermal pads according to manufacturer diagrams. These spongy rectangles protect memory chips and voltage regulators. Press firmly to ensure full adhesion without air gaps.
Test your work by gently rocking the assembled unit. Any movement indicates loose fittings. Double-check every connection before powering up. A proper mount stays silent during intense gaming sessions.
Integrating the Cooling Loop with Other PC Components
Imagine your PC case as a bustling cityscape – components act like skyscrapers needing connected infrastructure. The thermal management network becomes the subway system, quietly moving energy beneath the surface. Seamless integration requires balancing form and function, especially when connecting new pathways to existing structures.
Routing Pathways and Connection Security
Tubing acts as your system’s vascular network. Flexible silicone lines bend around tight corners like trained gymnasts. Rigid acrylic pipes demand heat guns for precise angles but offer polished aesthetics. Both styles need secure fittings – the handshakes between components.
Plan routes along existing cable channels. Leave space for future upgrades or maintenance access. Sharp bends restrict flow rates, while gentle curves maintain pressure. Test-fit every section before locking connections.
Leak prevention starts with proper fittings. Compression rings create watertight seals through mechanical force. O-rings provide secondary barriers against drips. Always perform a 24-hour dry run with paper towels beneath joints before powering up.
Match your loop’s layout to your case’s airflow pattern. Avoid blocking intake vents or exhaust fans. Well-integrated systems work with existing thermal dynamics, not against them. The result? A harmonious machine where every part plays its role silently.
FAQ
Is liquid cooling better than air cooling for high-performance builds?
How do I choose the right radiator size for my setup?
What tools are essential for installing a custom loop?
Can I mix different brands of water blocks and pumps?
How often should I maintain my cooling system?
Will a custom loop fit in small form-factor cases?
- NVIDIA RTX 6000 Ada Generation 48 GB Bottleneck Calculation - October 17, 2025
- Optimize Your GeForce RTX 5070 Performance with Our Bottleneck Tool - October 2, 2025
- GeForce RTX 5090 Bottleneck Calculator: Optimize Your Setup - October 1, 2025

