Last Updated on August 7, 2025 by Gill
Imagine firing up your favorite game after a routine system update, only to watch frame rates plummet like a dropped controller. That silky-smooth 240 FPS you loved? Now stuttering at 20. Sound familiar? You’re not alone—countless Windows users face this exact frustration when driver updates clash with their setup.
Recent Windows 11 updates have left many gamers and creatives scratching their heads. Take Roblox players, for example: some saw their buttery performance cut in half overnight. These aren’t isolated incidents—they’re warnings that newest doesn’t always mean best for your graphics hardware.
Stable drivers act like translators between your hardware and software. When that communication breaks down, you might notice:
• Sudden crashes during critical moments
• Mysterious flickering screens
• Games loading like molasses in January
This guide isn’t about avoiding updates—they’re crucial for security and features. It’s about recognizing when that shiny new driver becomes more foe than friend. We’ll walk through real-world scenarios where rolling back versions rescued rigs from the digital abyss.
Your system deserves to run at its peak. Let’s explore how to spot trouble early and reclaim buttery-smooth performance when updates go sideways.
Understanding the Need to Roll Back GPU Drivers
Your gaming rig suddenly feels like it’s running through quicksand. That’s what happens when fresh driver versions clash with your system. Recognizing these red flags early saves hours of frustration and keeps your hardware humming.
Spotting Trouble After Updates
Stuttering frame rates during gameplay often wave the first warning flag. Visual glitches—like flickering textures or color distortion—signal deeper compatibility conflicts. System crashes mid-match or delayed app launches point directly to unstable drivers.
When Downgrading Makes Sense
Not every glitch demands drastic action. Try these checks first:
- Test multiple games/apps for consistent issues
- Verify Windows update compatibility
- Check hardware temperatures
Persistent problems across different software? That ASUS ROG Strix user saw FPS dive from 240+ to 150 after a Windows update. Clean installs failed—rolling back restored their performance.
| Symptom | Temporary Fix | Permanent Solution |
|---|---|---|
| FPS drops in multiple games | Lower graphics settings | Install older driver version |
| Random system crashes | Disable GPU overclocking | Revert to stable release |
| Visual artifacts | Adjust display resolution | Roll back driver |
NVIDIA drivers particularly benefit from version testing—some updates optimize specific games while destabilizing others. Track performance changes after each update to identify patterns. In addition to tracking performance, it’s crucial to ensure that your system runs smoothly by monitoring temperatures and usage rates during gameplay. Utilizing benchmarking software can help test GPU health effectively, providing insights into potential issues that may not be immediately apparent during regular use. Keeping a log of these tests and observations can make it easier to evaluate which driver versions provide the best overall performance for your gaming setup.
Restoring Stable Performance Through Driver Management
Staring at a lagging screen after an update? Let’s fix that. Windows provides built-in tools to restore previous configurations when new software causes chaos.
Device Manager Restoration Technique
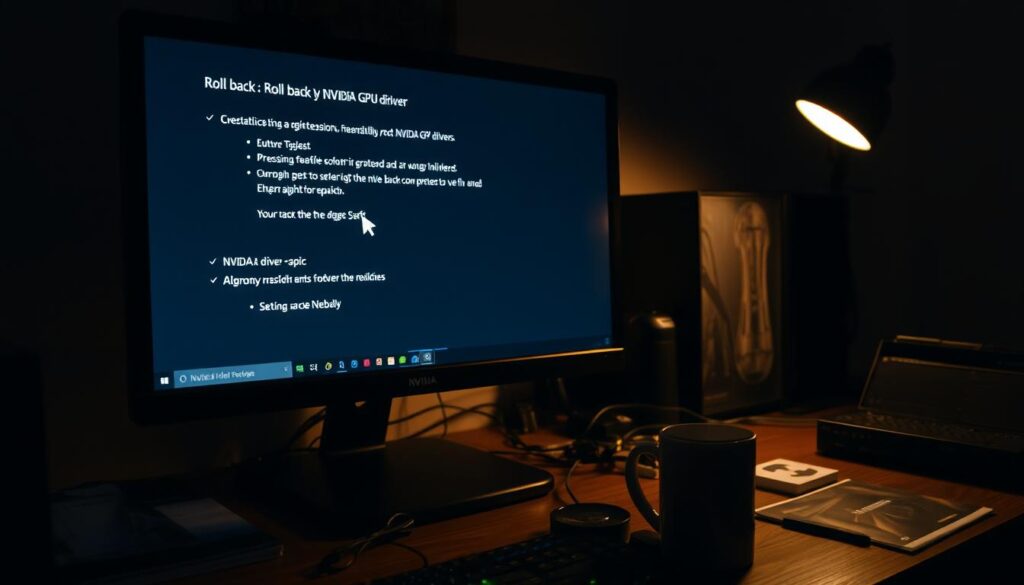
Access your system’s control center by right-clicking the Windows Start icon. Choose Device Manager from the menu – your gateway to hardware settings. Expand the Display adapters section to reveal your NVIDIA card.
Right-click your graphics processor and select Properties. Navigate to the Driver tab where version details live. If the Roll Back Driver button activates, you’ve struck gold. Choose a reason for reversal and confirm – Windows handles the rest automatically.
Manual Driver Selection Process
When automatic rollbacks fail, take manual control. Return to Device Manager and right-click your NVIDIA hardware again. Select Update driver but choose the browse option. Check “Show compatible hardware” to reveal older versions.
- Compare release dates and version numbers
- Select a known stable build
- Complete installation with system restart
For critical cases, visit NVIDIA’s official driver archive. Match your card model and OS version precisely. Opt for Custom Installation during setup – this clears residual files from problematic updates.
Troubleshooting and Advanced Fixes
When basic fixes fall short, deeper solutions become essential. Persistent glitches often hide complex conflicts between software and hardware components. Let’s explore professional-grade strategies to restore stability.
Addressing Performance and Compatibility Issues
Start by examining system logs through Windows Event Viewer. Look for error codes tied to your display adapters. Compare these with known issues in driver release notes—NVIDIA often documents conflicts in patch details.
Create a driver version comparison chart:
| Driver Version | Game Compatibility | Stability Rating |
|---|---|---|
| 511.79 | Excellent | 9/10 |
| 516.94 | Moderate | 6/10 |
| 522.25 | Poor | 4/10 |
This approach helps identify optimal versions for your setup. Remember—newer doesn’t always mean better compatibility.
Utilizing DDU for a Clean Installation
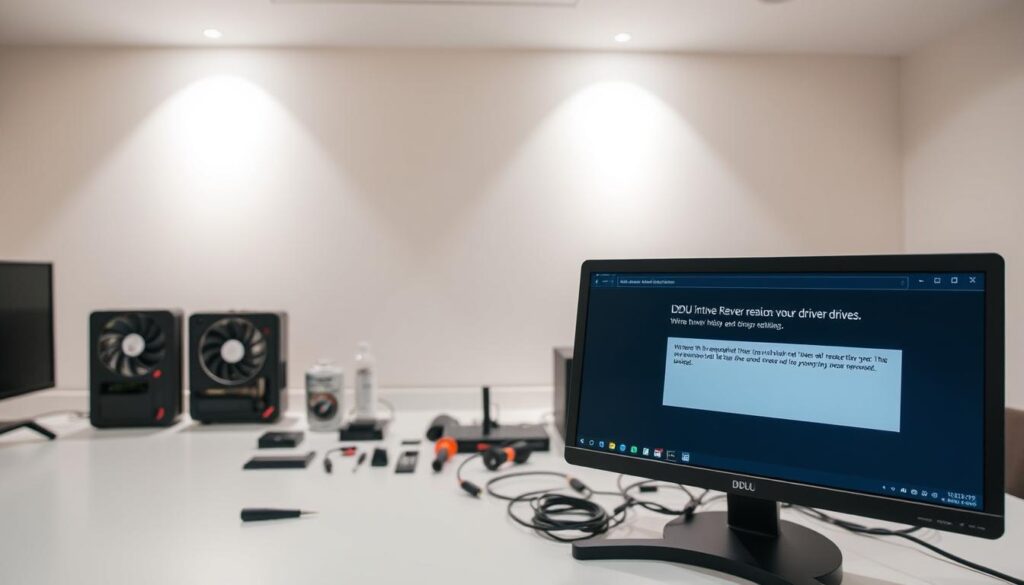
When standard removal fails, Display Driver Uninstaller (DDU) becomes your secret weapon. Boot into Safe Mode by:
- Holding Shift while clicking Restart
- Navigating to Troubleshoot > Advanced options
- Selecting Startup Settings (F4)
Run DDU’s Clean and Restart option to wipe all driver remnants. This creates a fresh foundation for reinstalling stable versions. Many users report 30%+ performance improvements after this process.
For ongoing maintenance, consider automated tools like Advanced Driver Updater. These solutions:
- Scan for incompatible versions
- Maintain optimal configurations
- Alert before problematic updates install
Pair these techniques with regular system checkups to keep your rig running smoothly through future Windows updates.
Conclusion
Your once-powerful machine shouldn’t feel like it’s stuck in second gear. With the techniques we’ve explored—from quick Device Manager fixes to nuclear options like DDU—you’re ready to tackle any graphics hiccup head-on. Remember, the latest software doesn’t always play nice with your specific setup.
Windows 11 users have multiple recovery paths when things go south. The rollback feature acts as your first aid kit, while NVIDIA’s driver archive serves as a historical toolkit. For stubborn cases, clean installations reset the playing field completely.
Track your system’s behavior after each update. Create restore points before making changes, and keep older driver versions handy. This proactive approach lets you enjoy security upgrades without sacrificing frame rates or workflow efficiency.
You’ve now got a repair shop’s worth of solutions in your back pocket. Whether troubleshooting through Properties menus or scrubbing drivers entirely, your PC’s peak performance is just a few clicks away. Game on, create freely, and never let digital gremlins slow you down again.
FAQ
What are signs that a GPU driver update caused issues?
Can I revert to an older driver using Device Manager?
How do I manually install a previous driver version?
When should I use Display Driver Uninstaller (DDU)?
Will rolling back drivers affect my system files?
How do I check if my GPU driver is compatible after rolling back?
- NVIDIA RTX 6000 Ada Generation 48 GB Bottleneck Calculation - October 17, 2025
- Optimize Your GeForce RTX 5070 Performance with Our Bottleneck Tool - October 2, 2025
- GeForce RTX 5090 Bottleneck Calculator: Optimize Your Setup - October 1, 2025

